Play Store
Connect and configure Play Store with Gapex.
Overview
This guide walks you through creating a Google Cloud service account, generating a JSON credentials file, and connecting it to your Google Play Console app so Gapex can read and reply to your app’s reviews.
Prerequisites
- A Google account with access to Google Cloud Console
- Access to Google Play Console with admin permissions for your app
1. Access Google Cloud Console
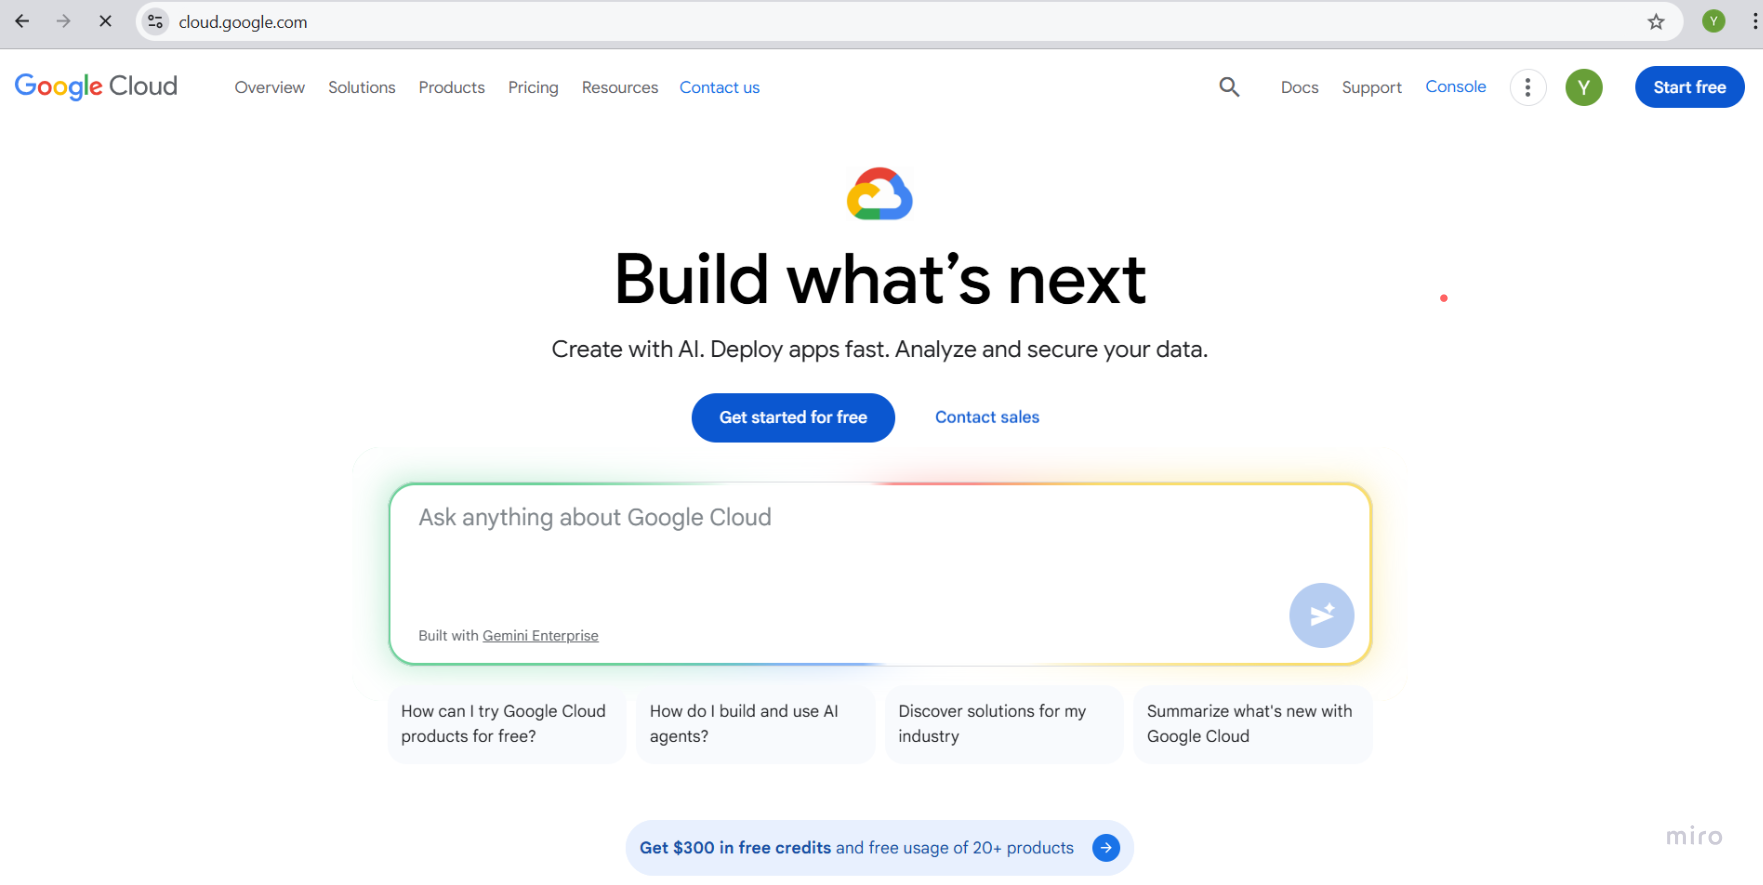
Step 1: Open Google Cloud
Open your browser and go to cloud.google.com.
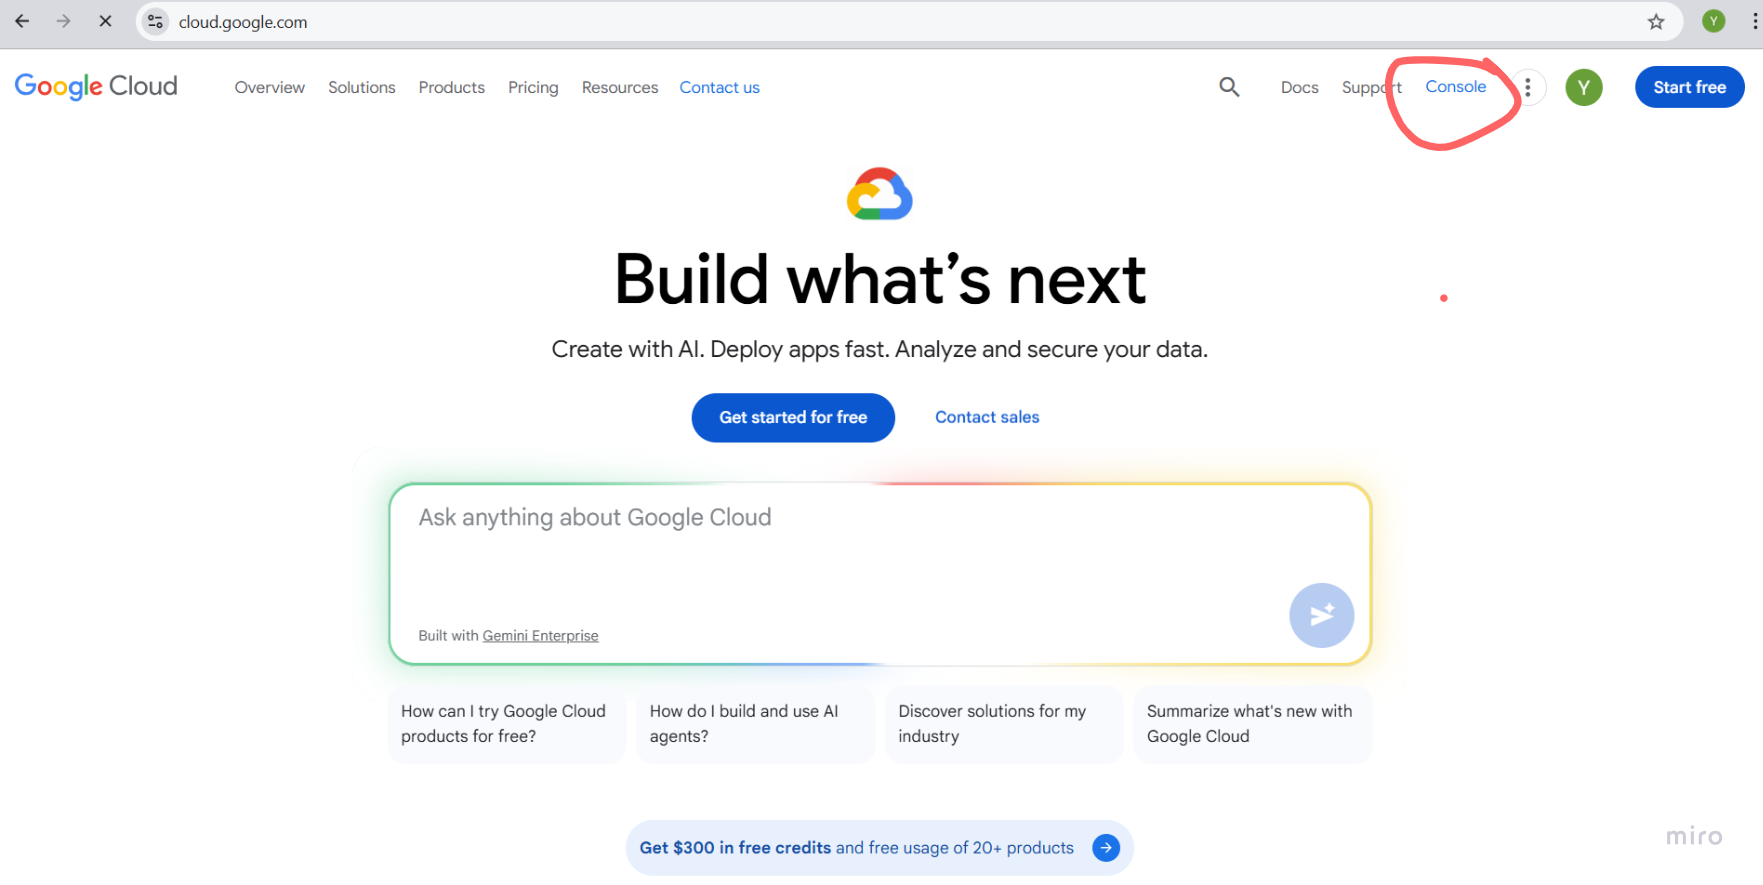
Step 2: Click Console
Click Console in the top-right corner of the page.
2. Create a Google Cloud Project
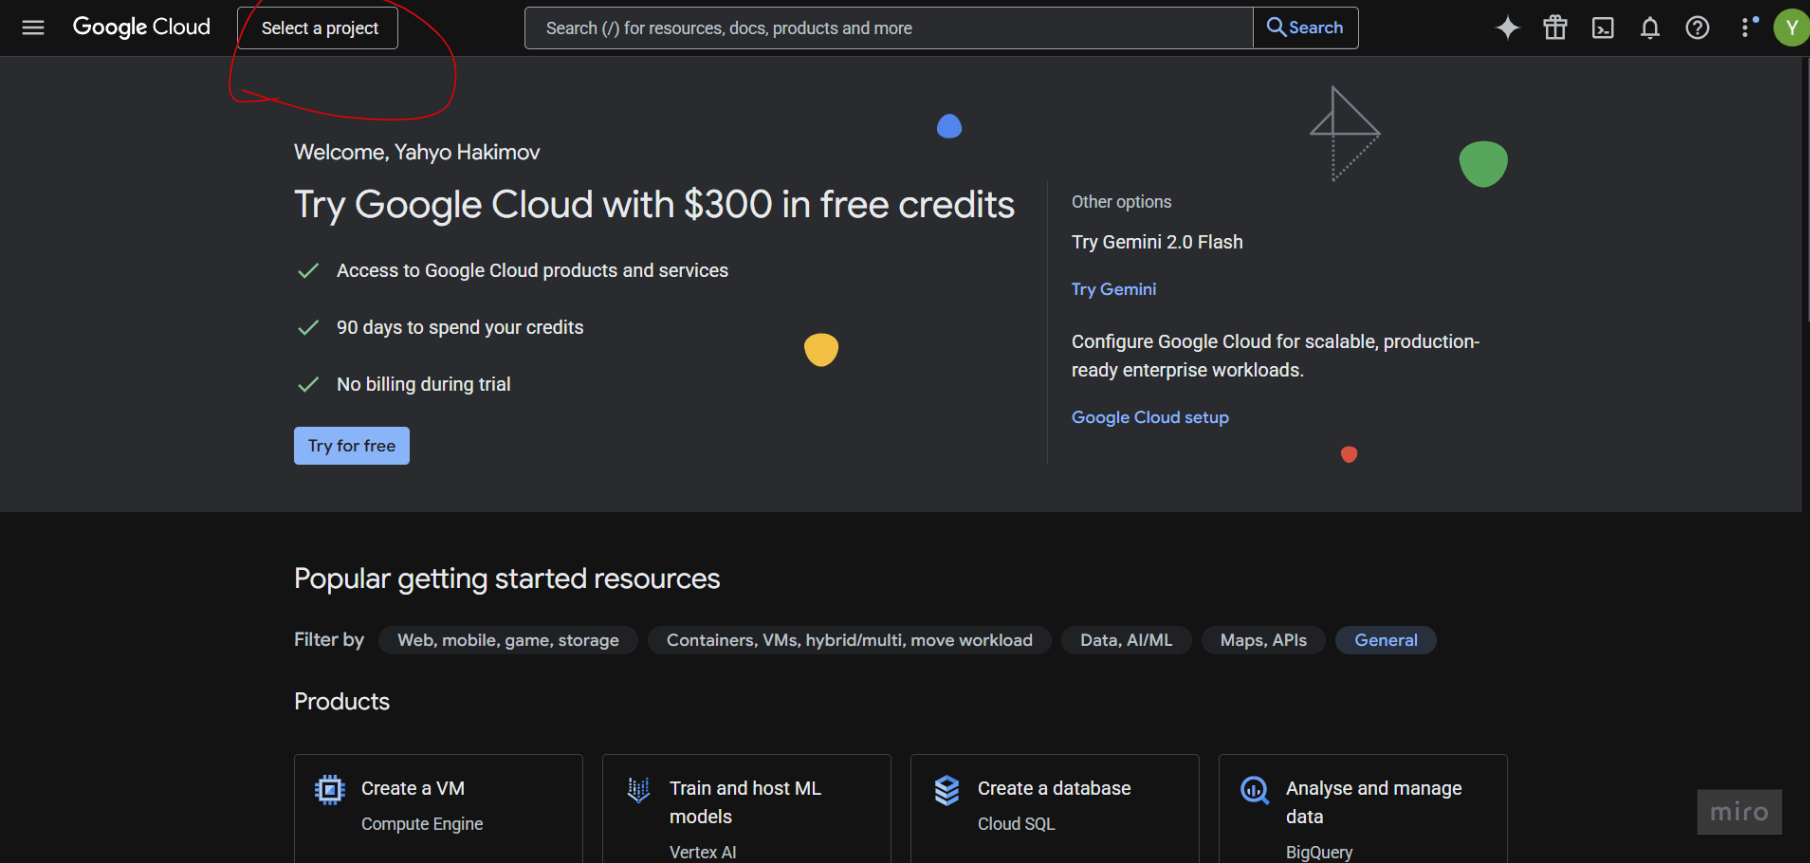
Step 3: Click Select a Project
Click Select a project in the top navigation bar.
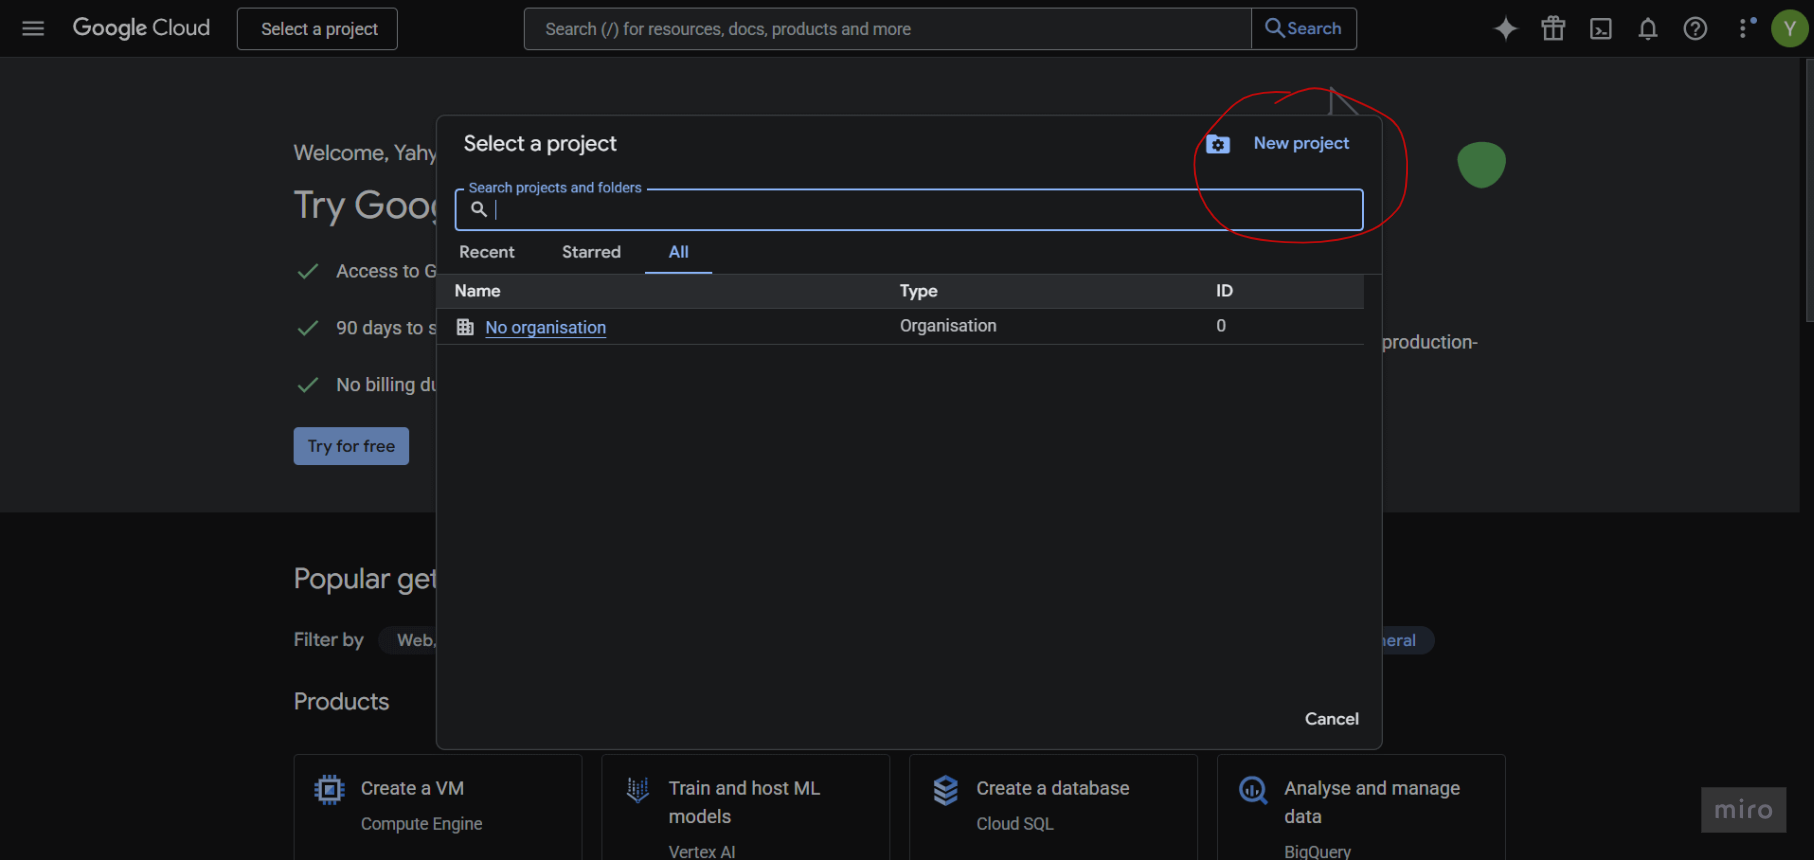
Step 4: Click New Project
In the project selector dialog, click New Project.
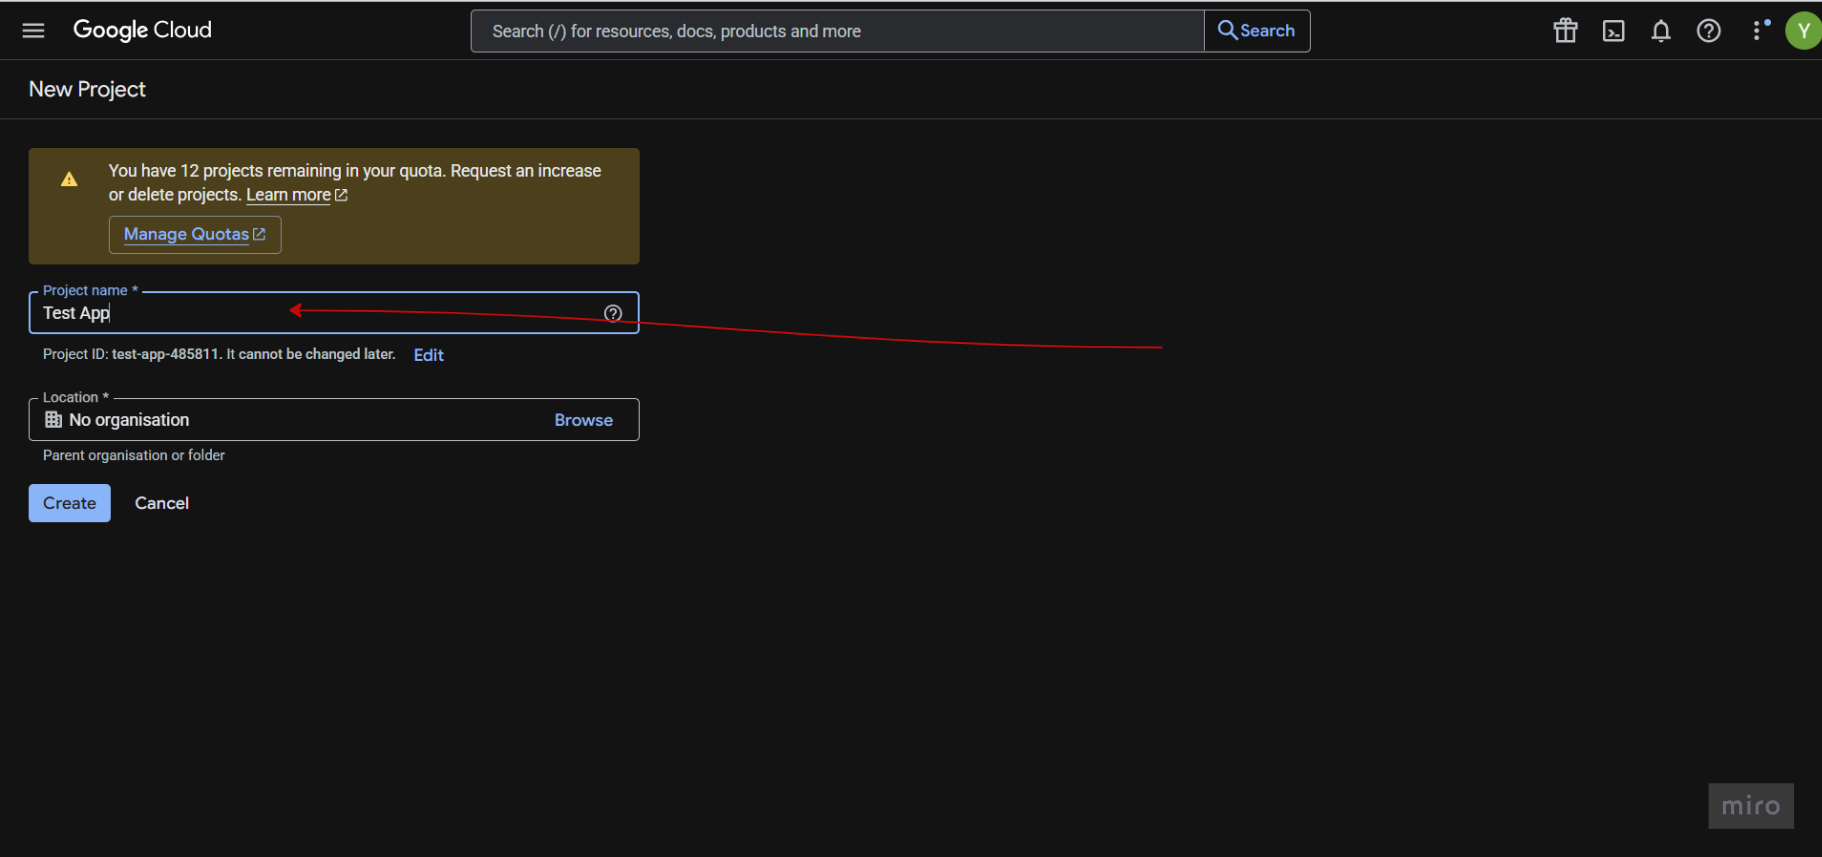
Step 5: Enter Project Name
Enter a project name (e.g., Gapex Play Store) and click Create.
Step 6: Select the New Project
Click Select a project again and choose the project you just created.

3. Create a Service Account
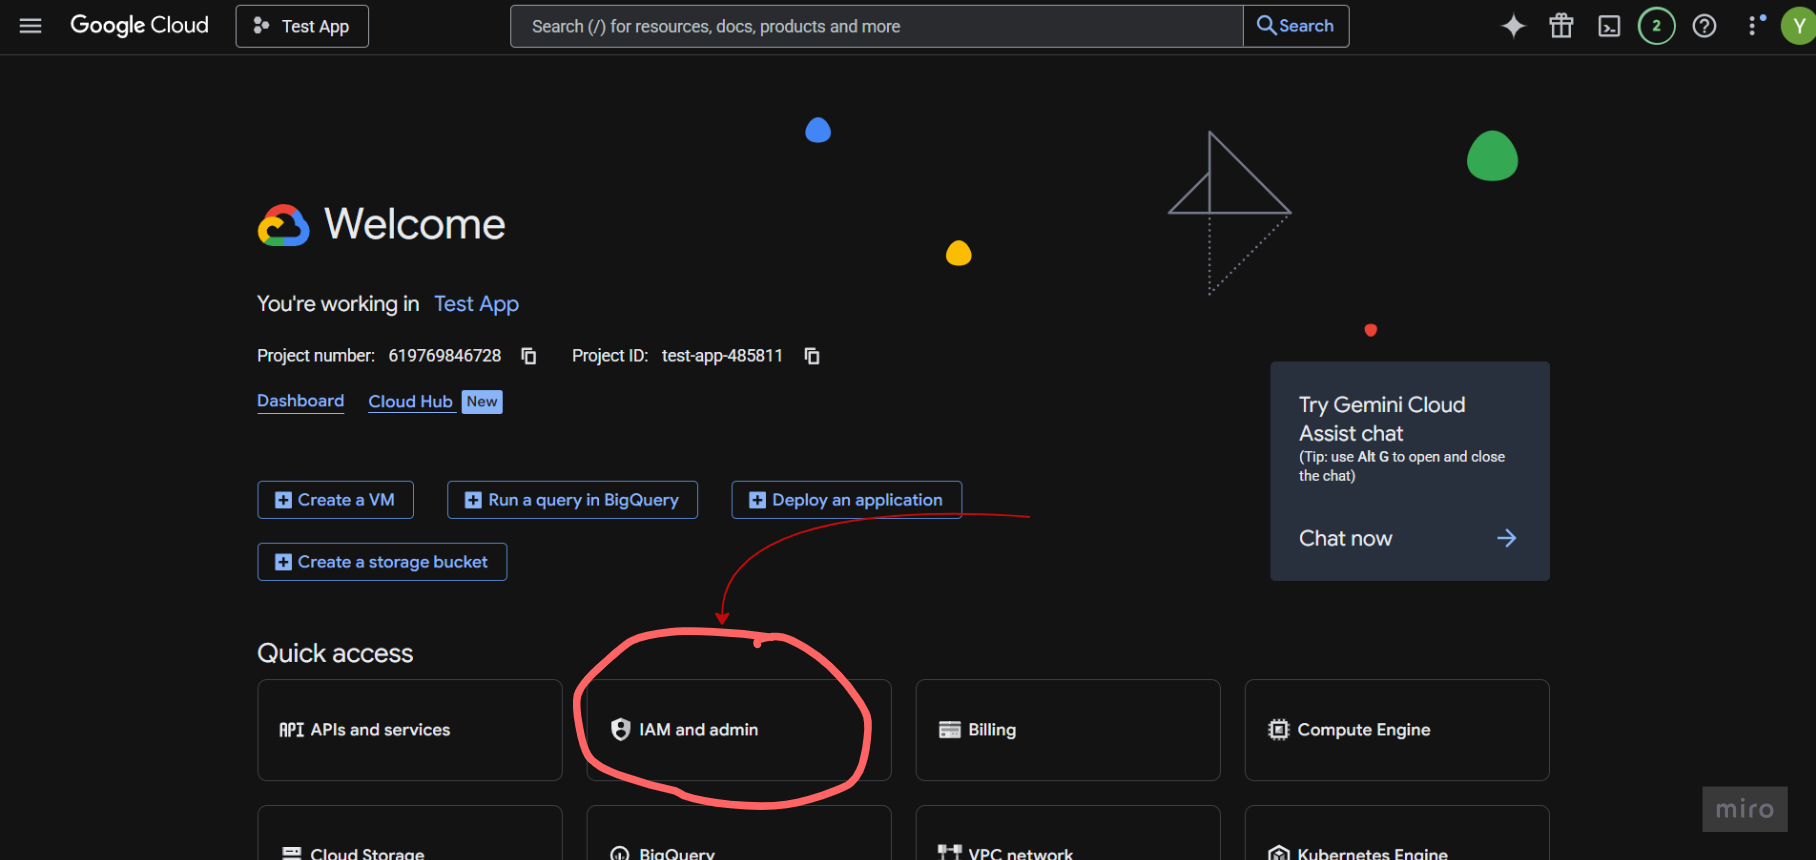
Step 7: Look for IAM and admin
Navigate to IAM & Admin → Service Accounts.
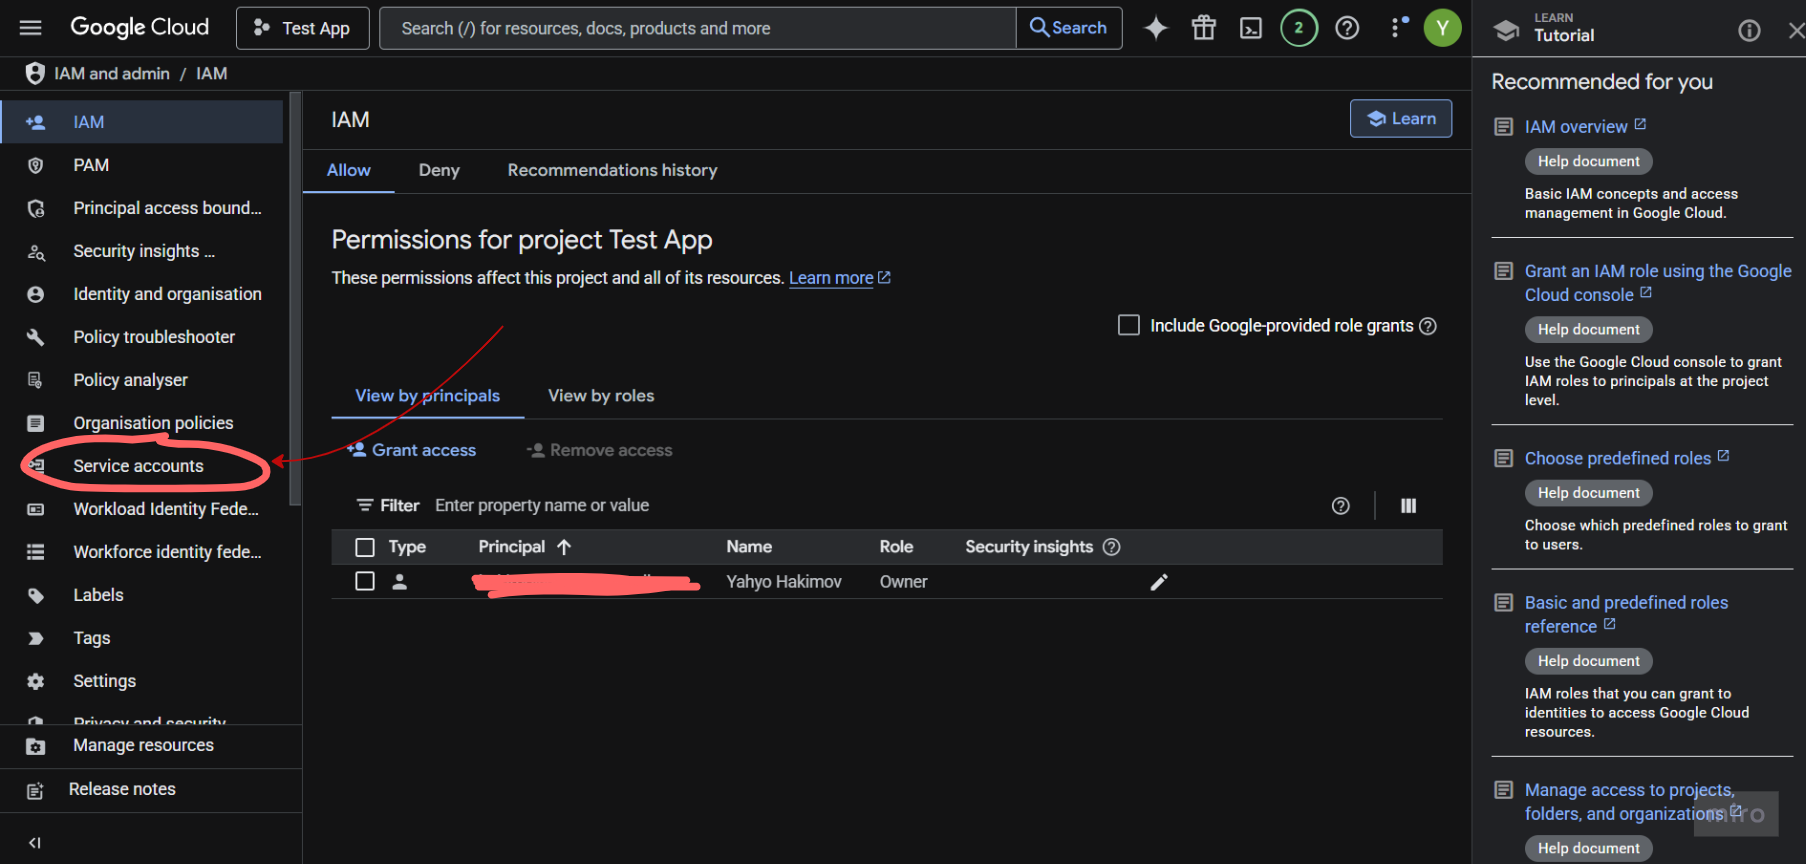
Step 8: Open Navigation Menu
Click the hamburger menu (☰) in the top-left corner and find Service account.
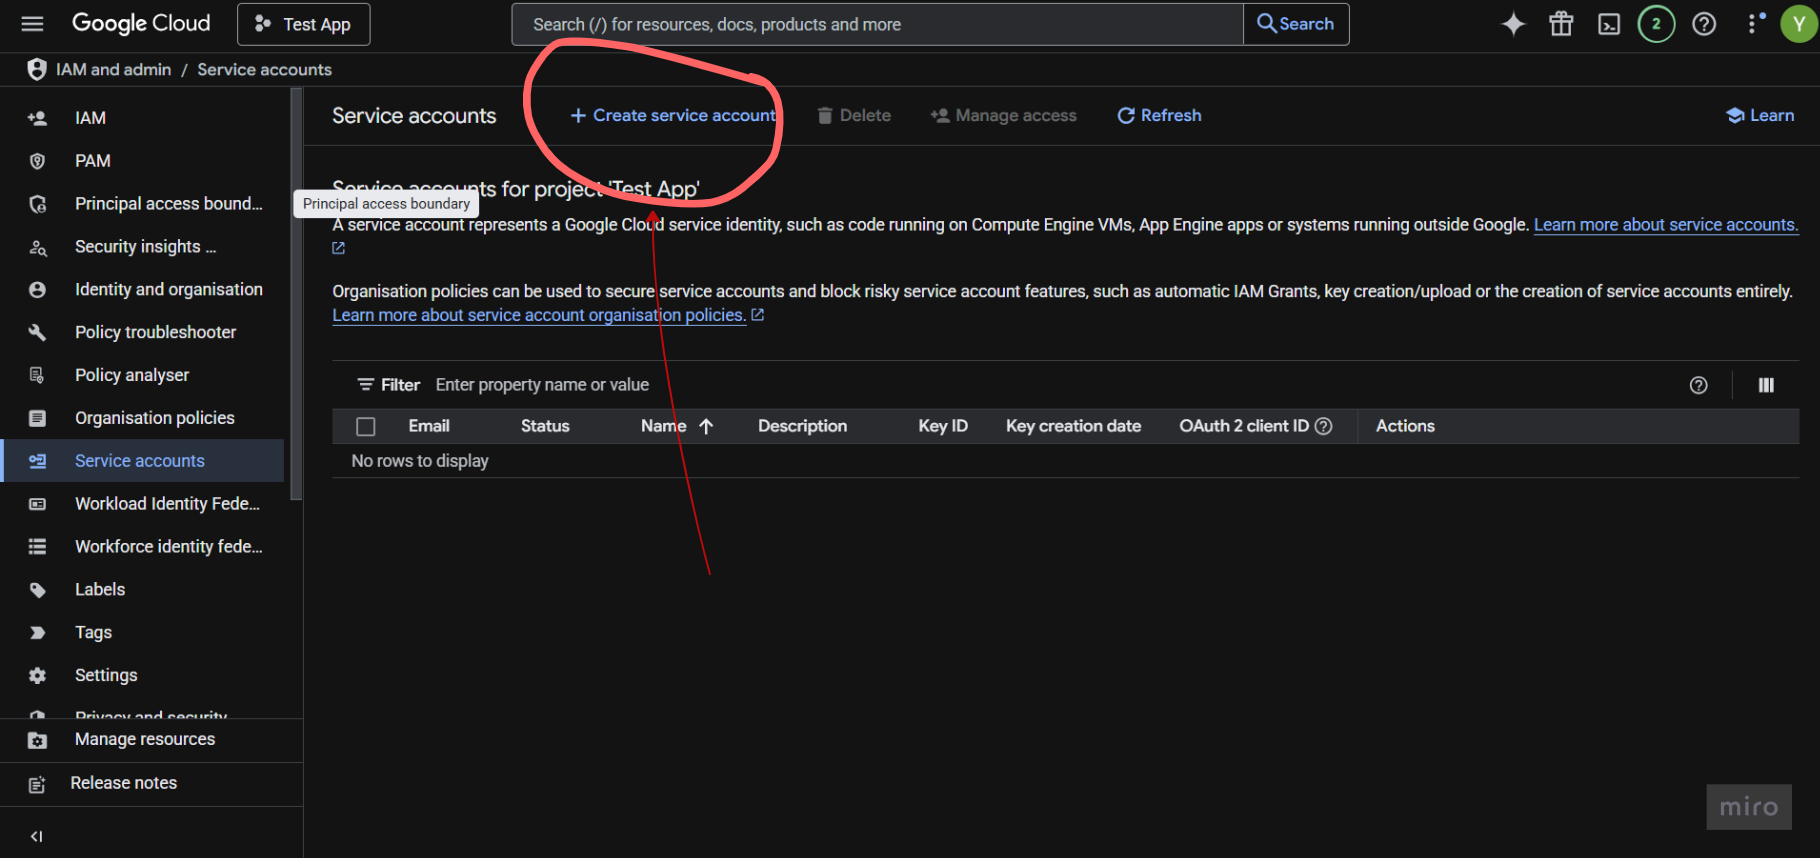
Step 9: Click Create Service Account
Click Create Service Account at the top of the page.
Step 10: Enter Service Account Name
Enter a name for the service account (e.g., gapex-playstore) and click Continue.
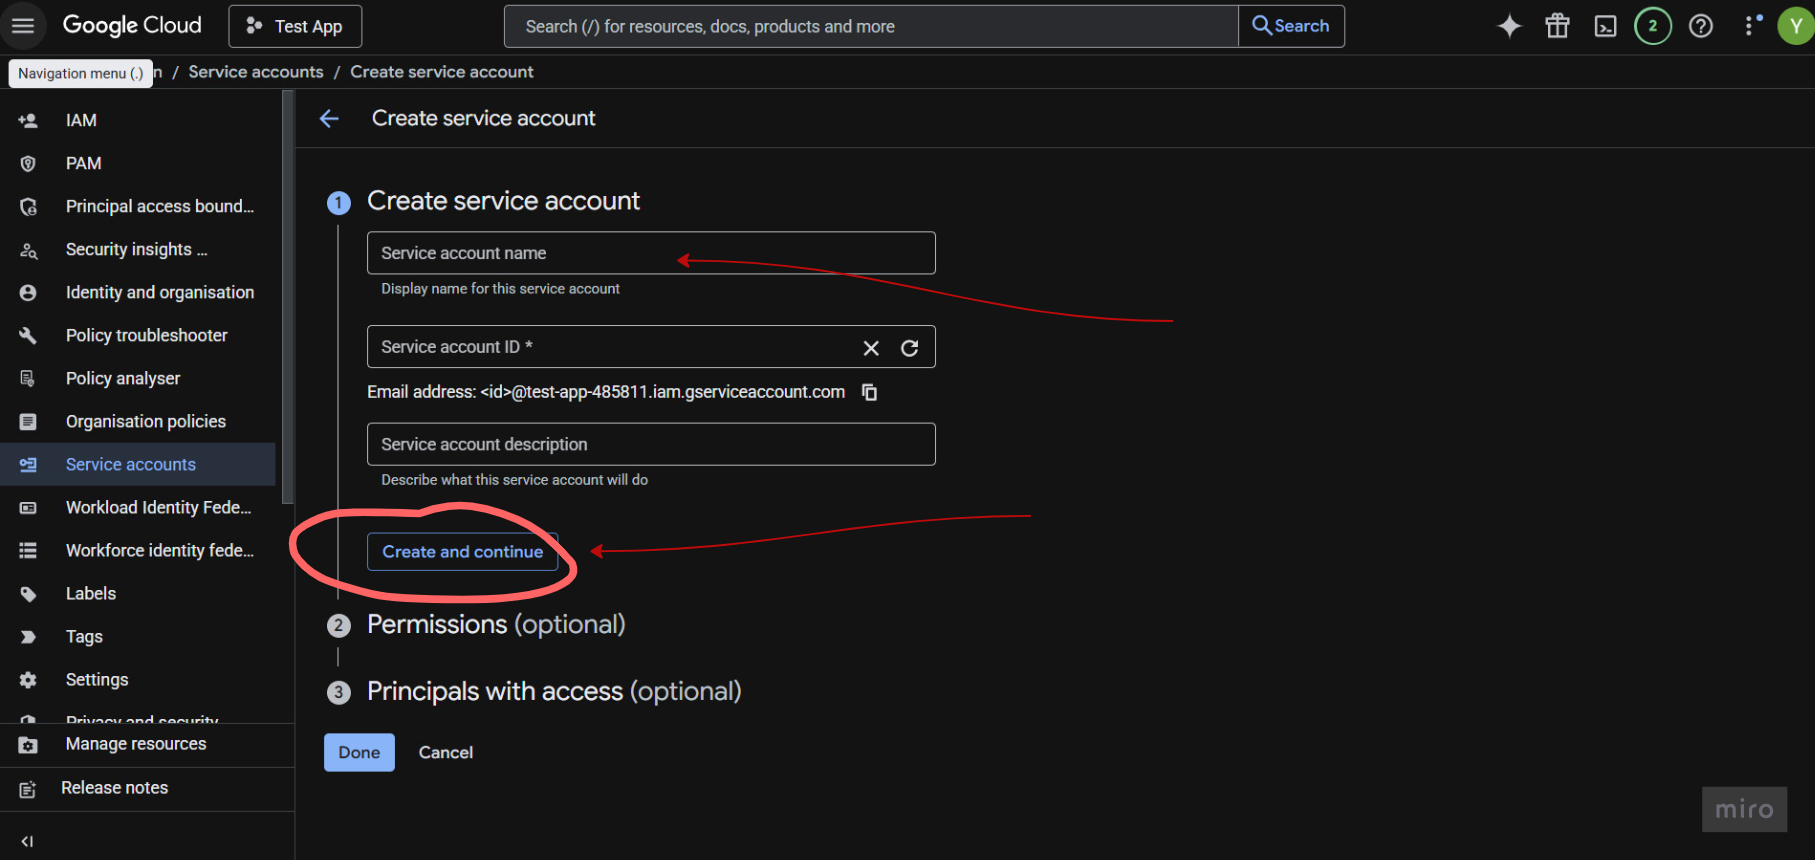
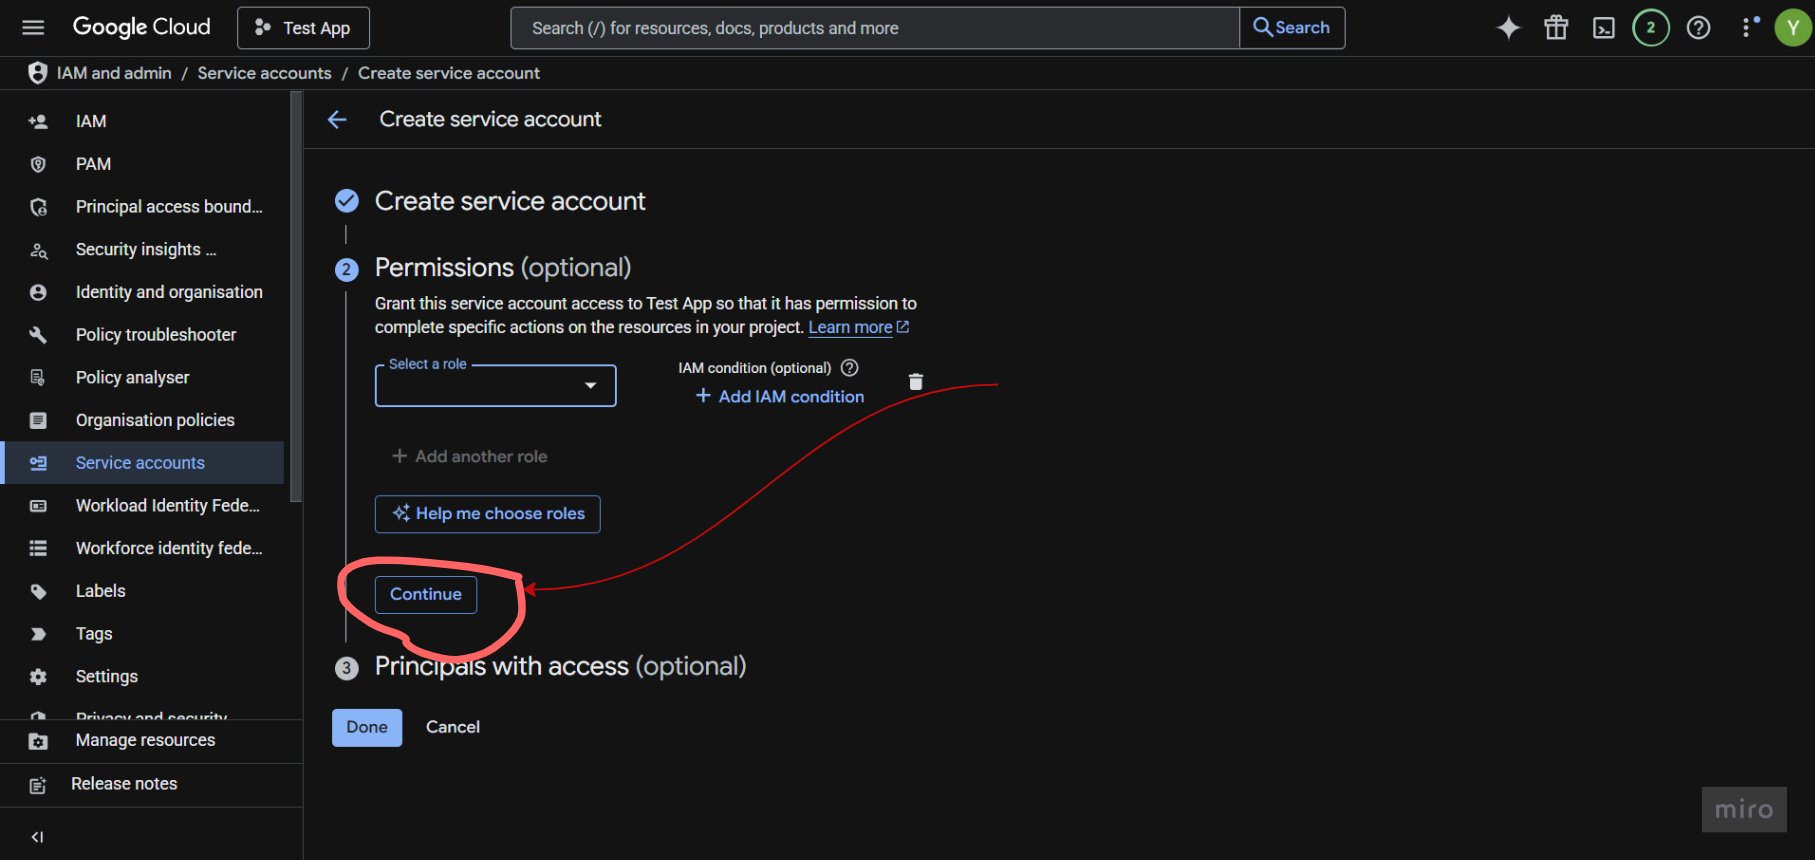
Step 11: Skip Optional Steps
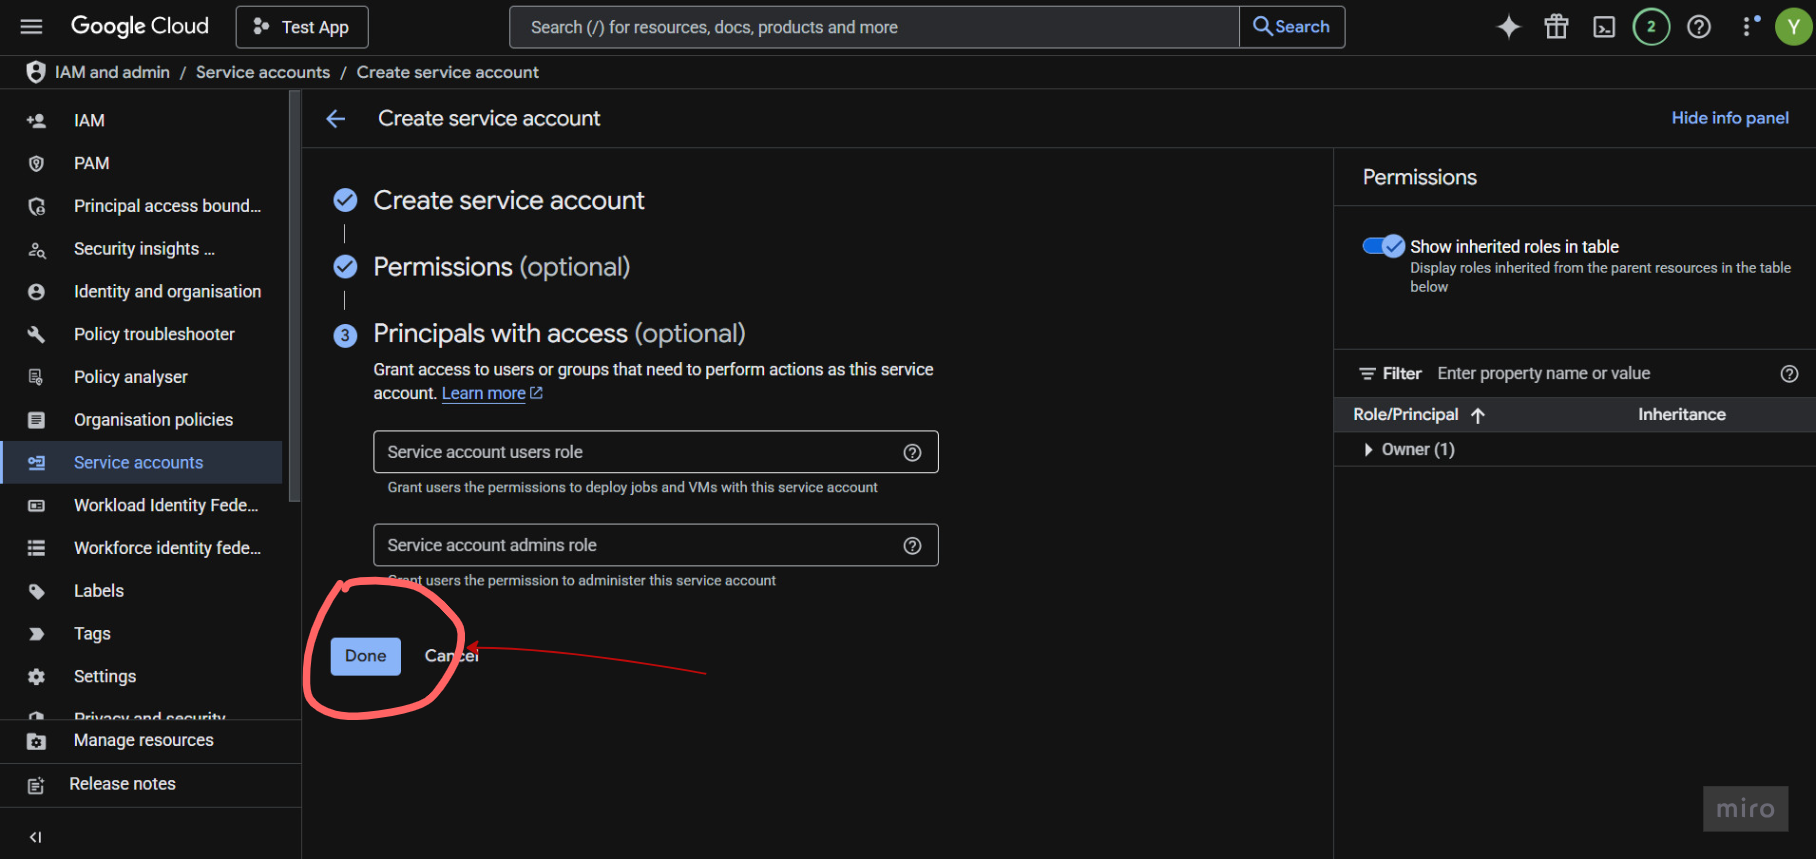
You can skip the optional “Grant this service account access” and “Grant users access” steps. Click Continue.
Then click on Done.
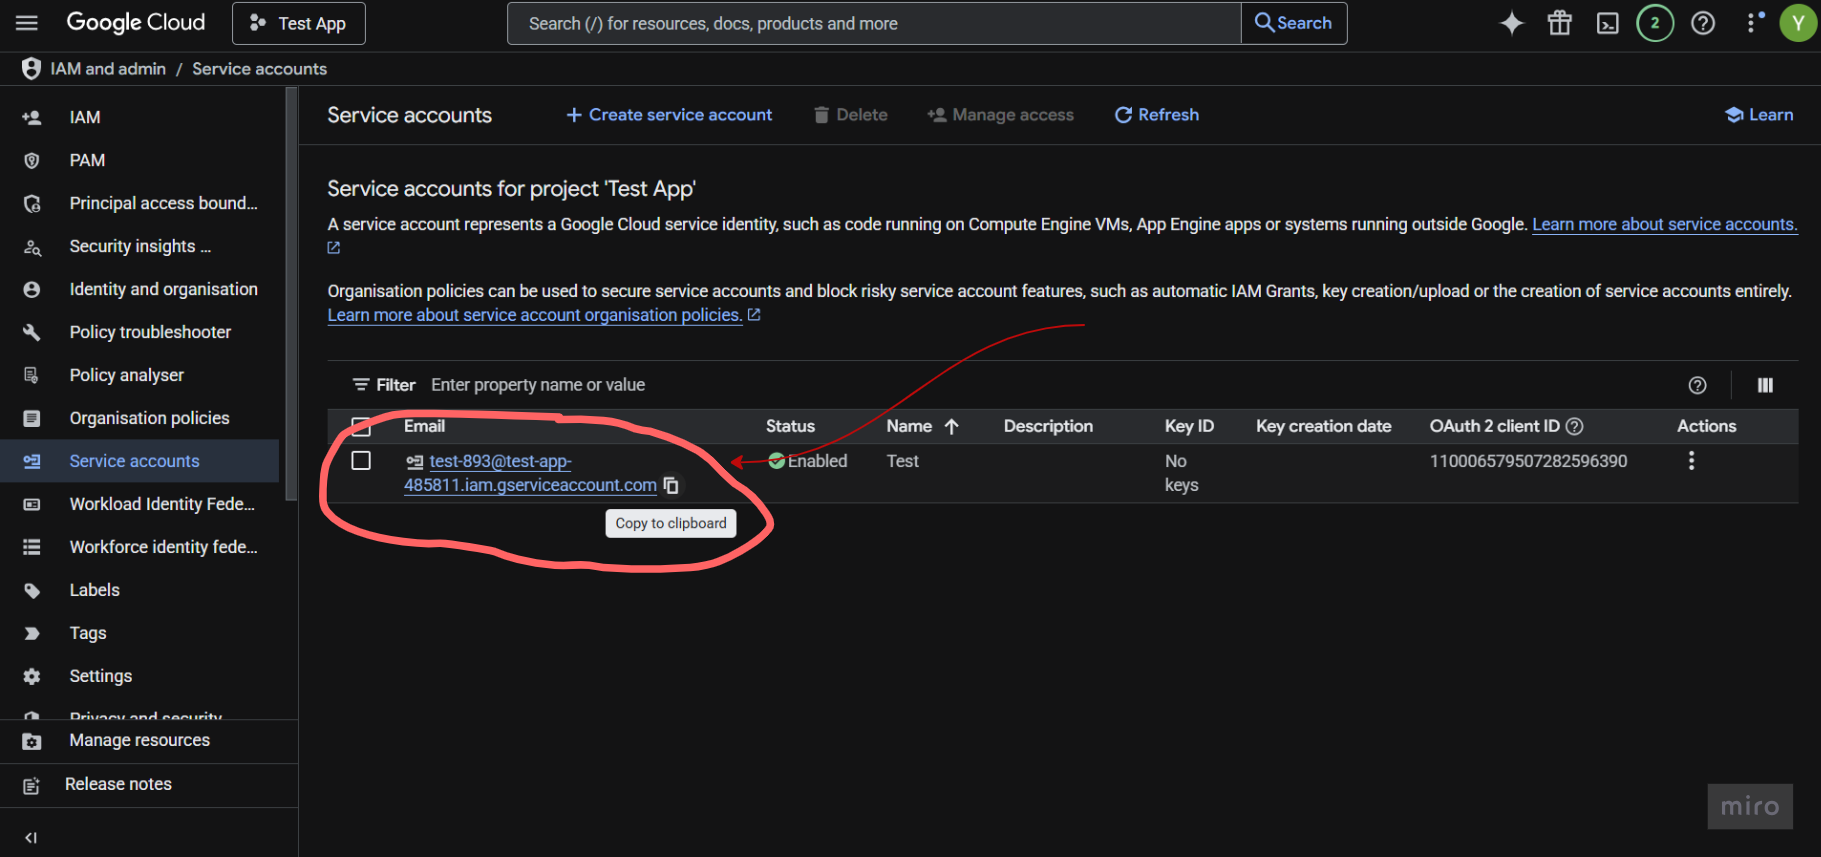
Step 12: Copy Service Account Email
You will see the service account listed. Copy the email address — you will need it later for Google Play Console.
4. Generate Service Account Key (JSON)
Step 13: Open Service Account Actions
Click the three dots (⋮) in the Actions column.

Step 14: Click Manage Keys
From the dropdown menu, click Manage keys.

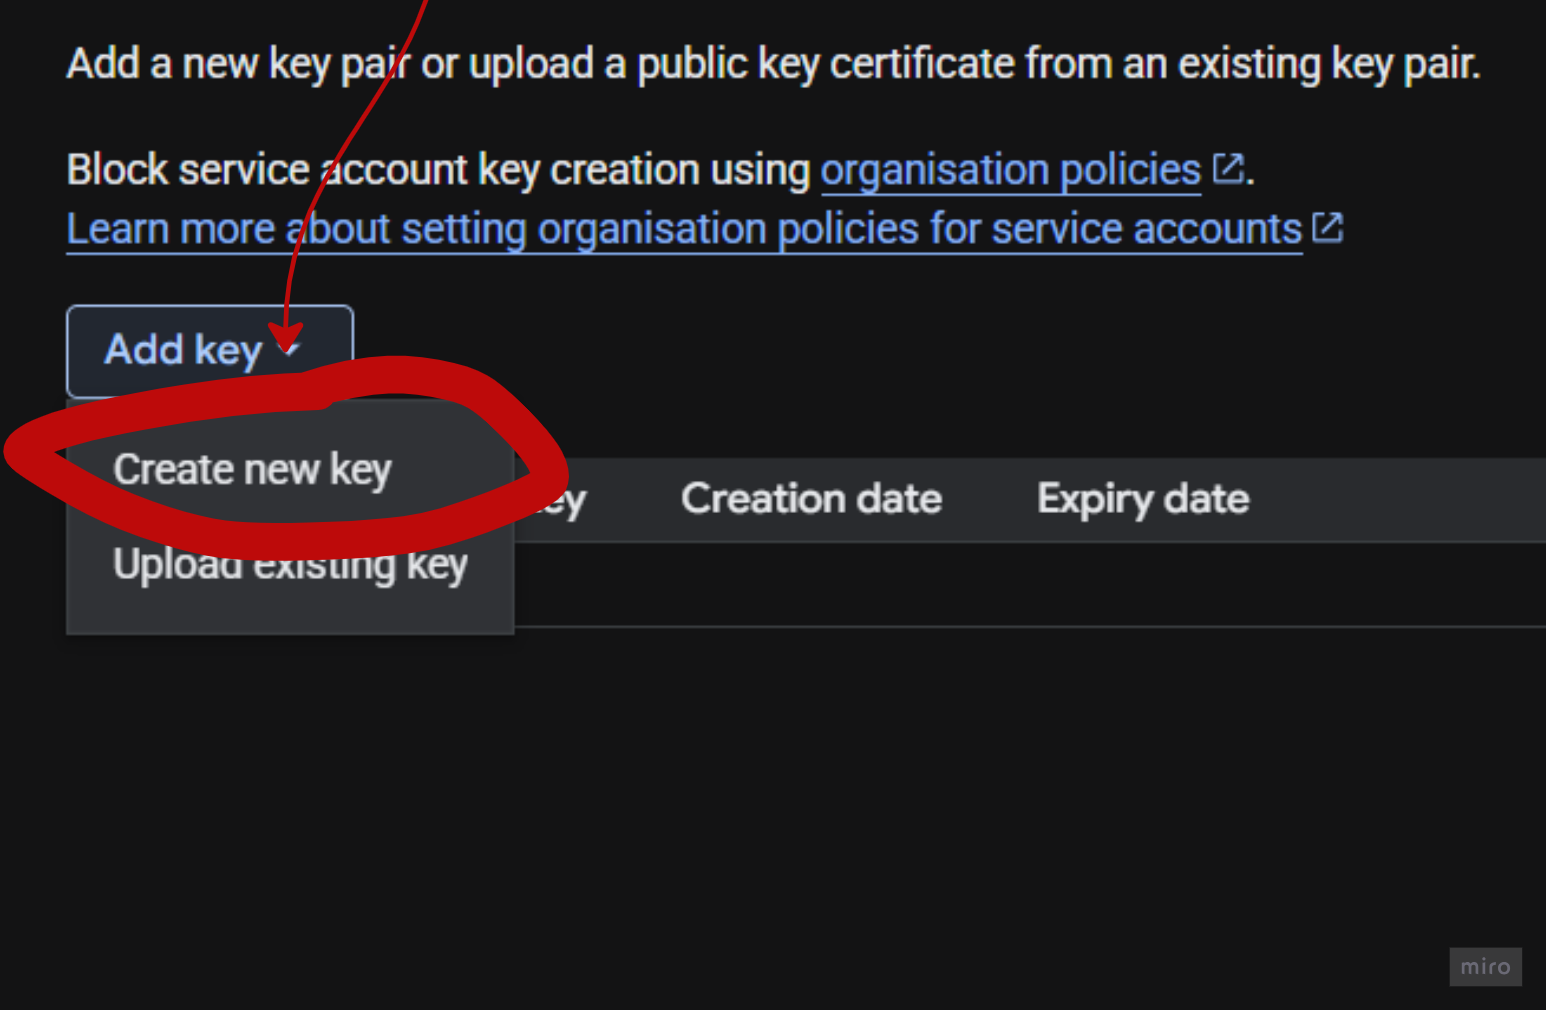
Step 15: Click Add Key
Click Add key.

Click Create new key.
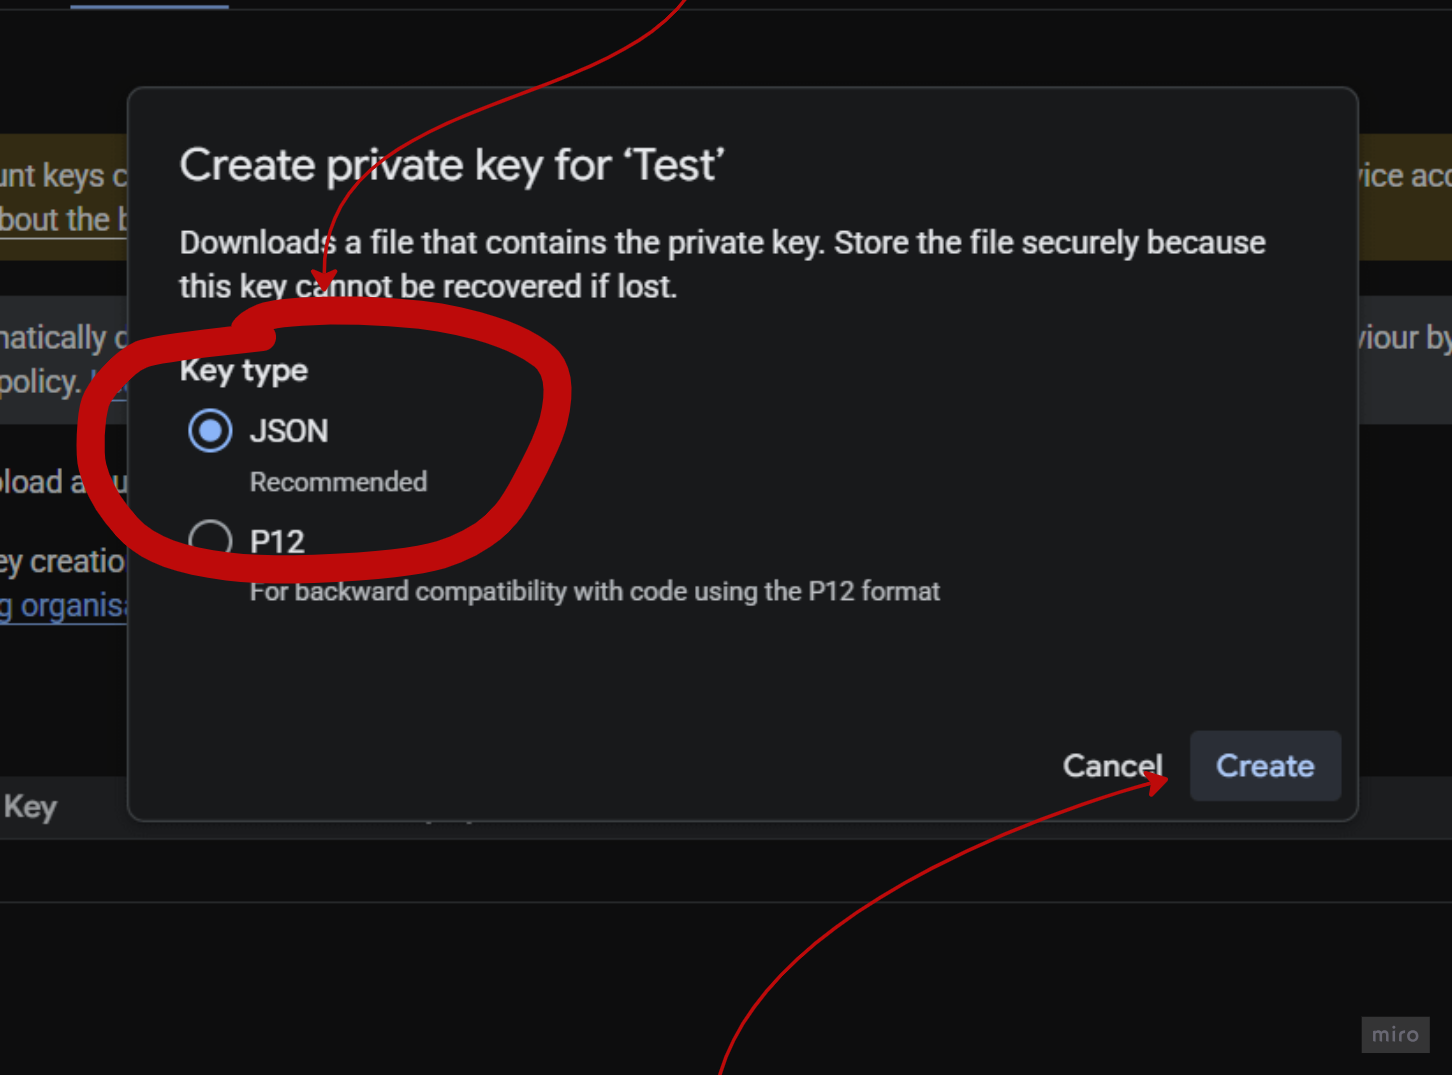
Step 16: Select JSON and Create
Select JSON as the key type and click Create.
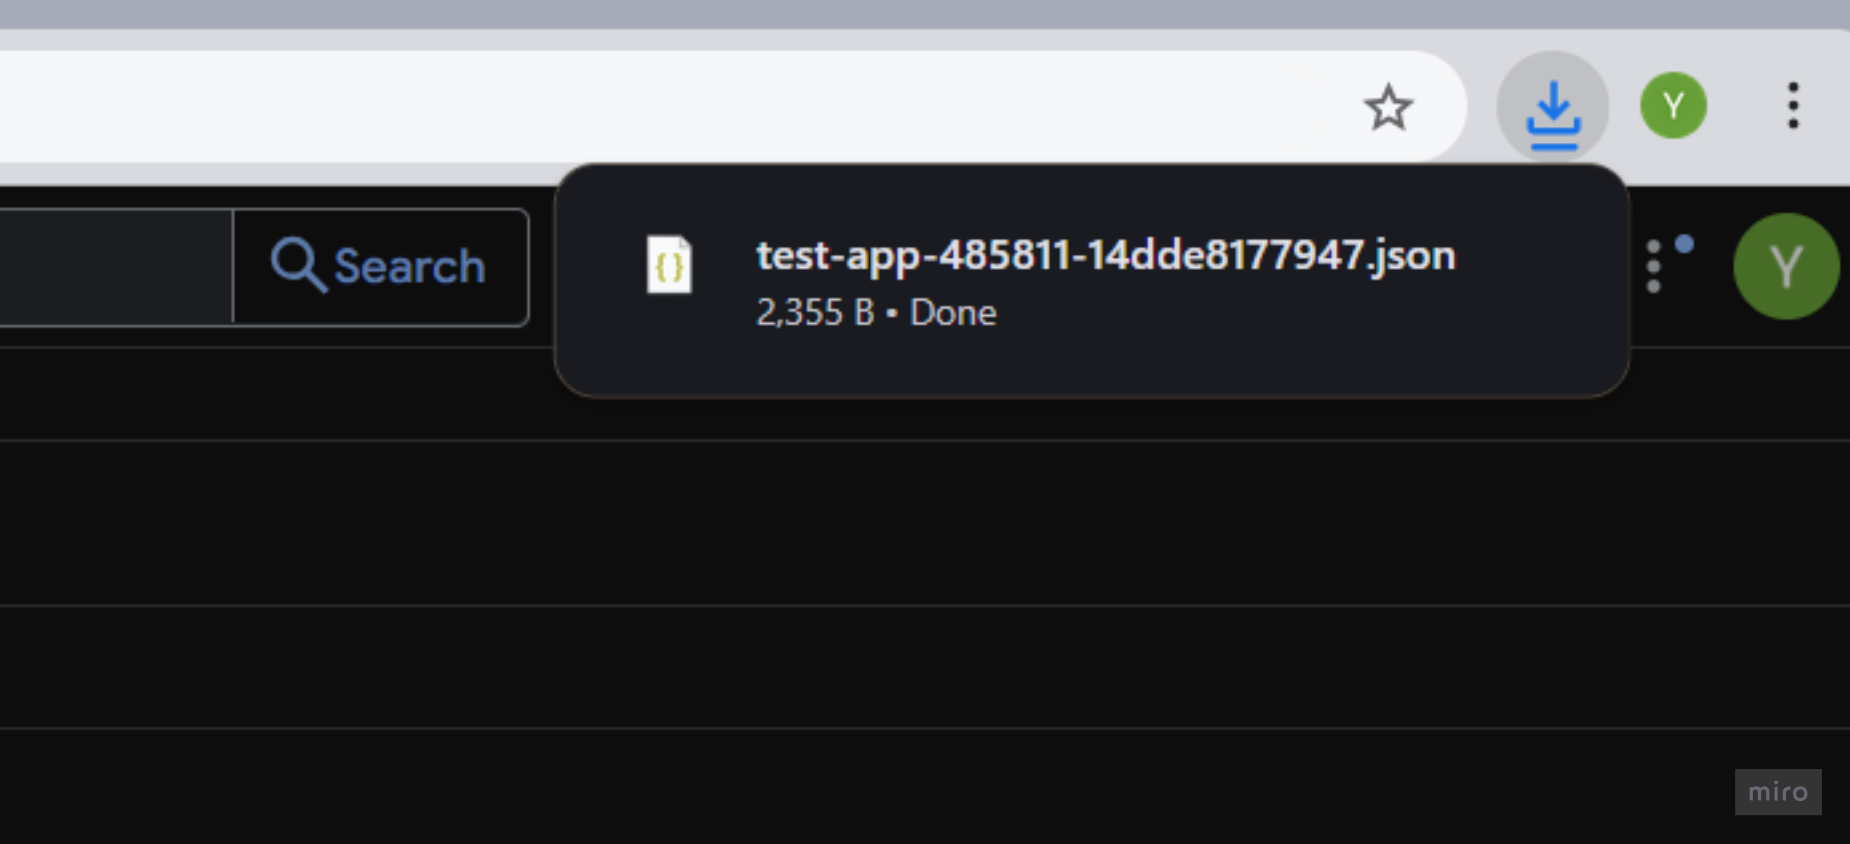
Step 17: Download JSON File
The JSON credentials file will be automatically downloaded to your computer. Keep this file safe — you will upload it to Gapex.
5. Enable Google Play Android Developer API
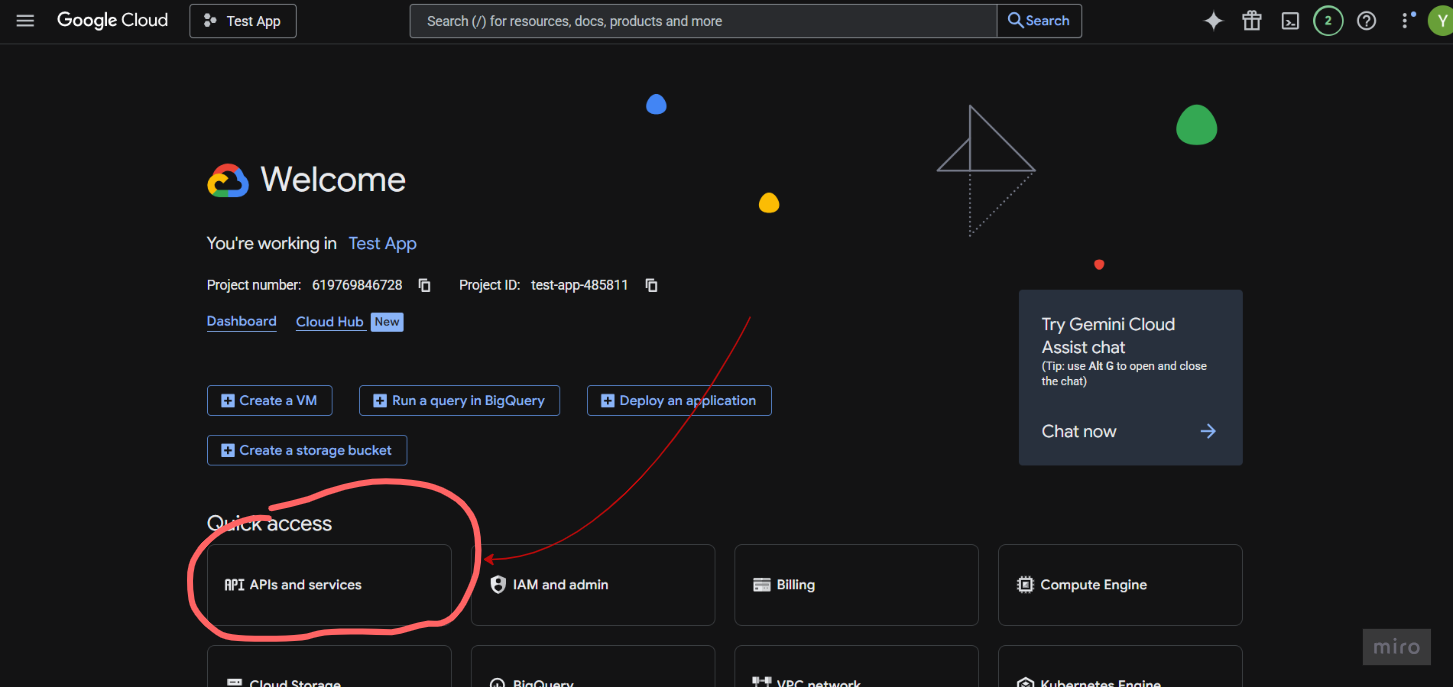
Step 18: Go to APIs & Services
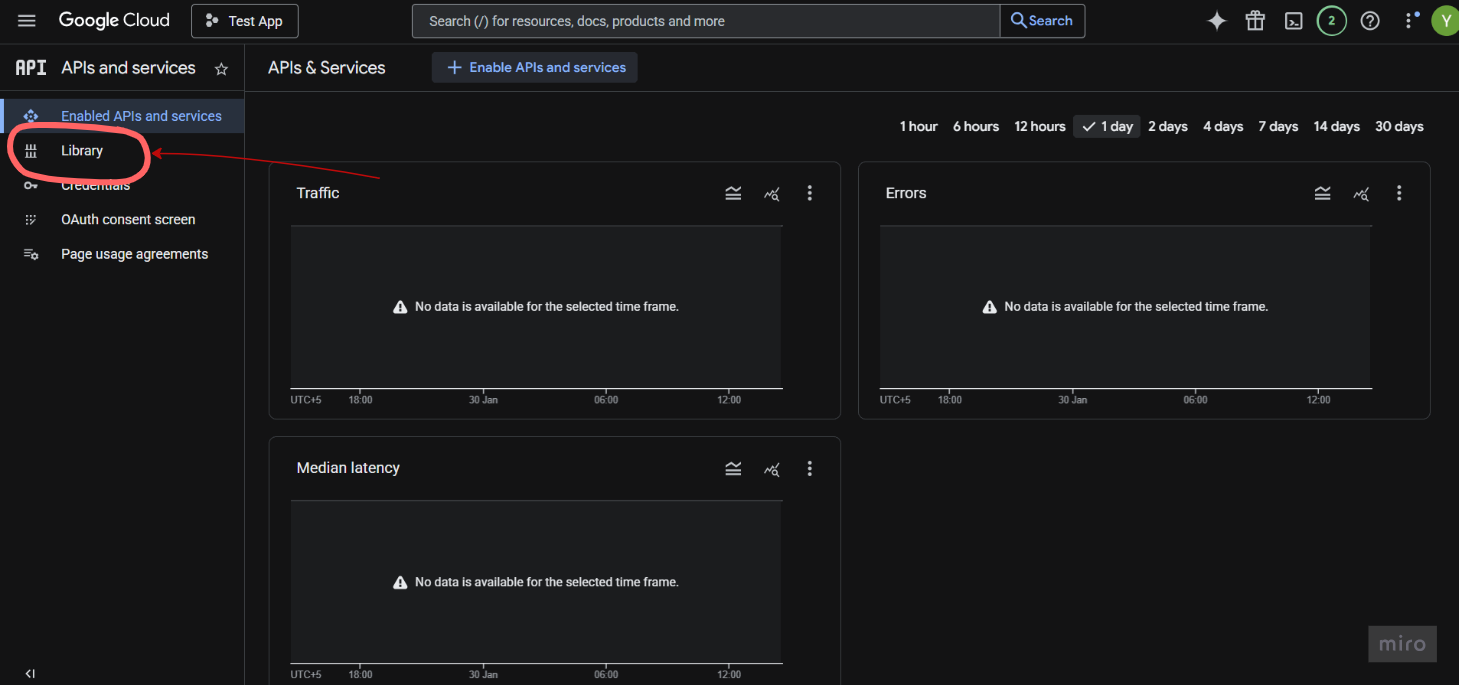
In the left sidebar, navigate to APIs & Services → Library.
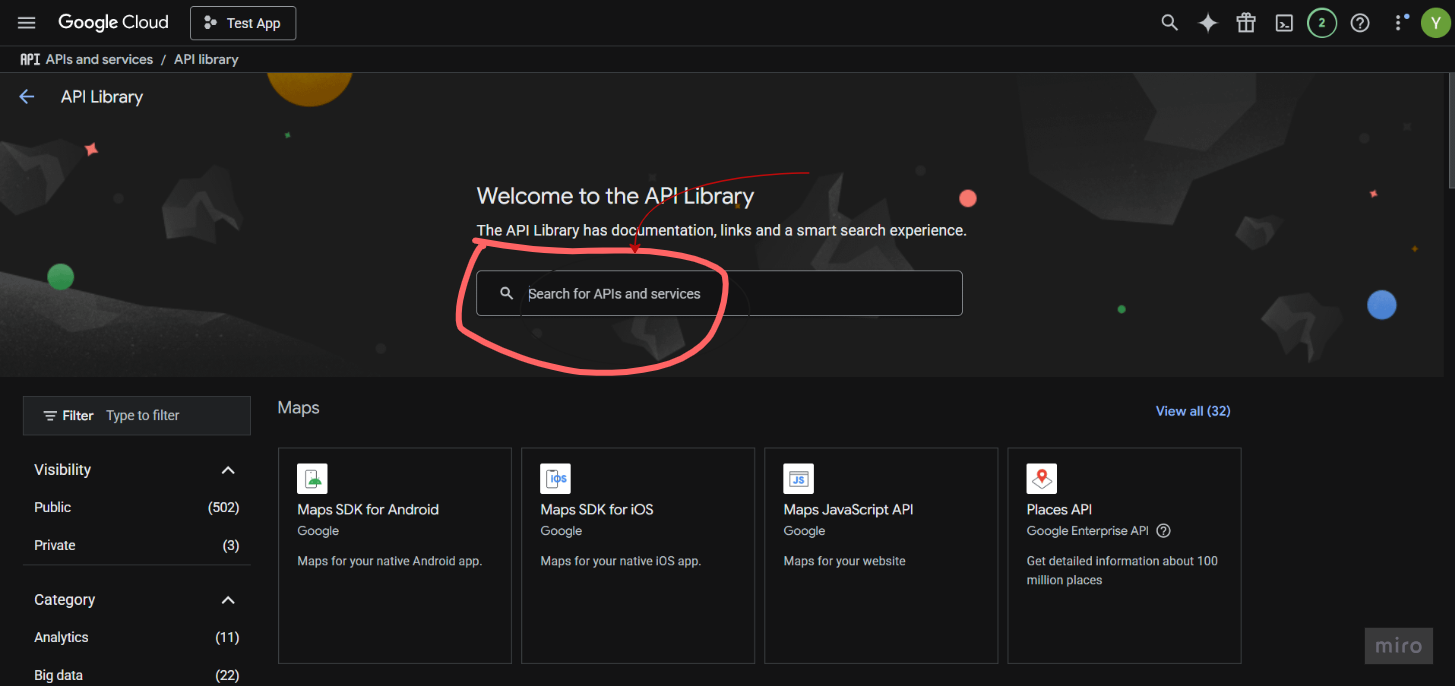
Step 19: Open API Library
You will see the API Library welcome screen. Click on the search bar.
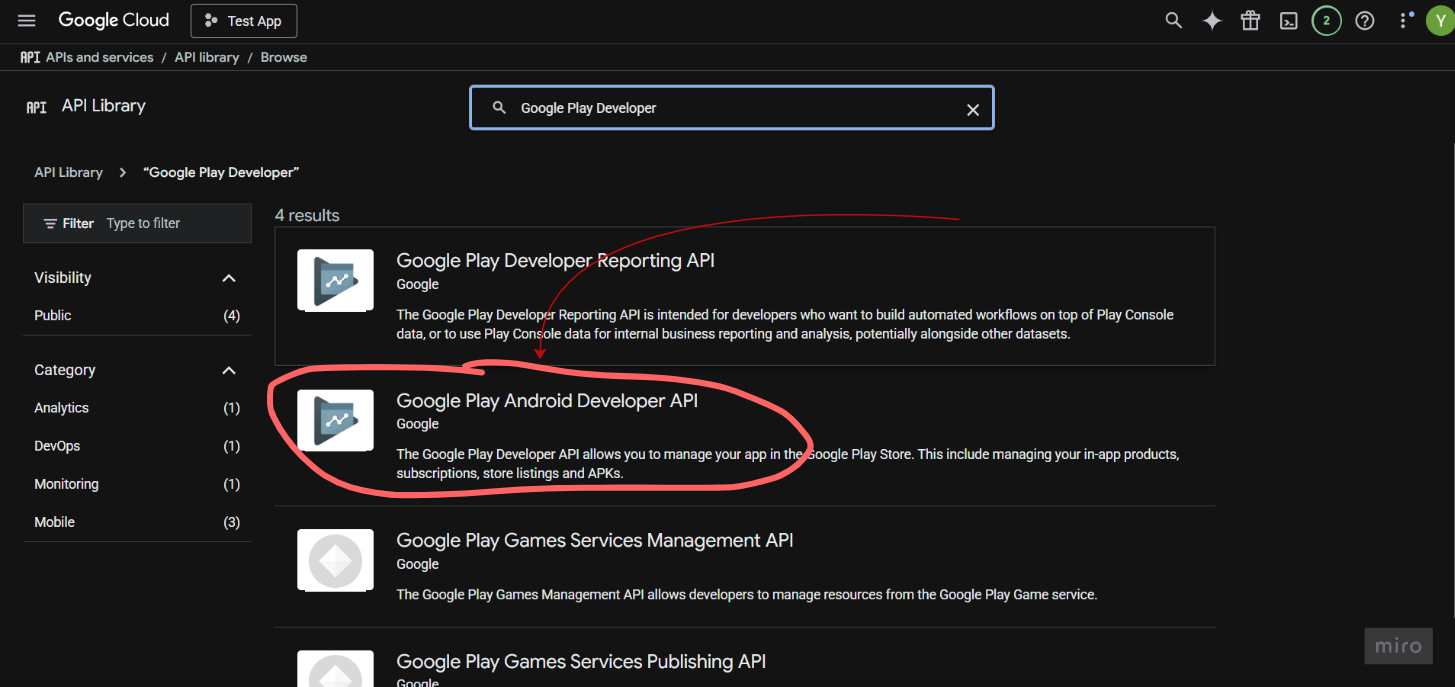
Step 20: Search for Google Play Android Developer API
In the API Library search bar, type Google Play Android Developer API.
Step 21: Select the API
Click on Google Play Android Developer API from the search results.
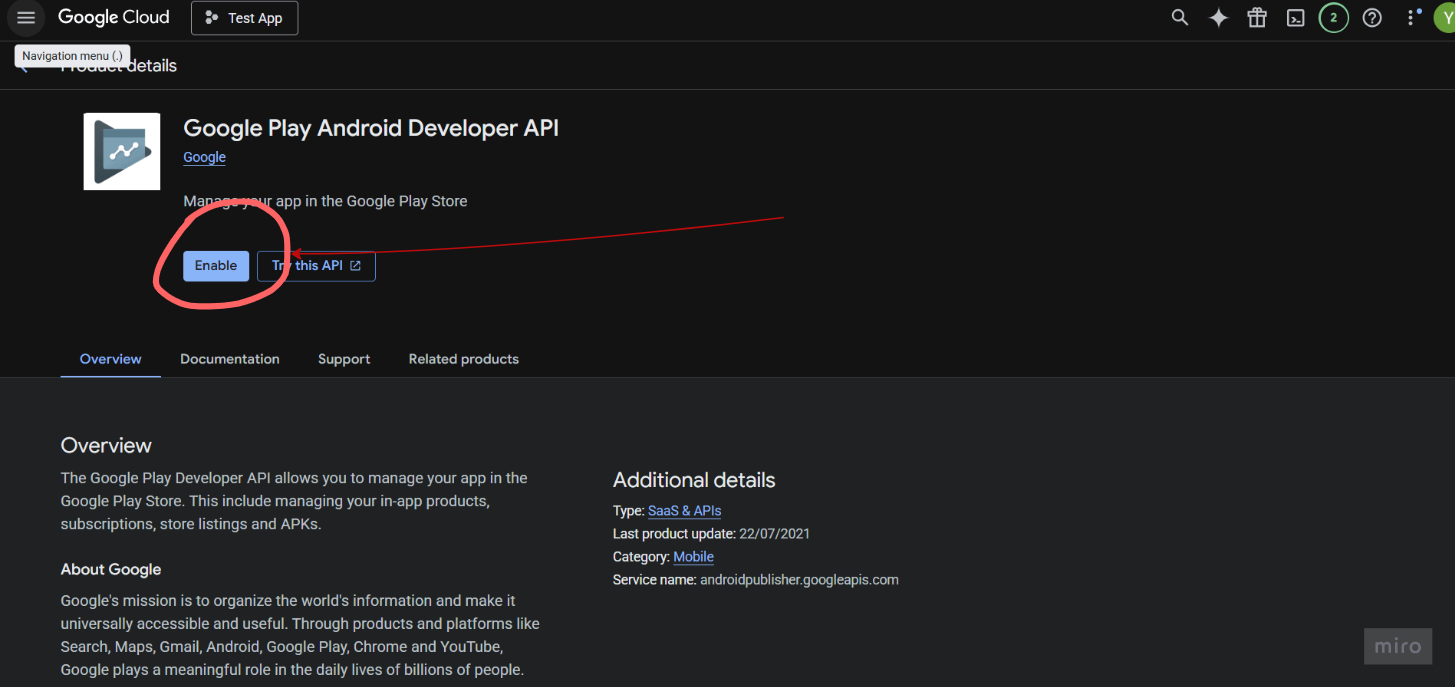
Step 22: Enable the API
Click the Enable button.
6. Add Service Account to Google Play Console
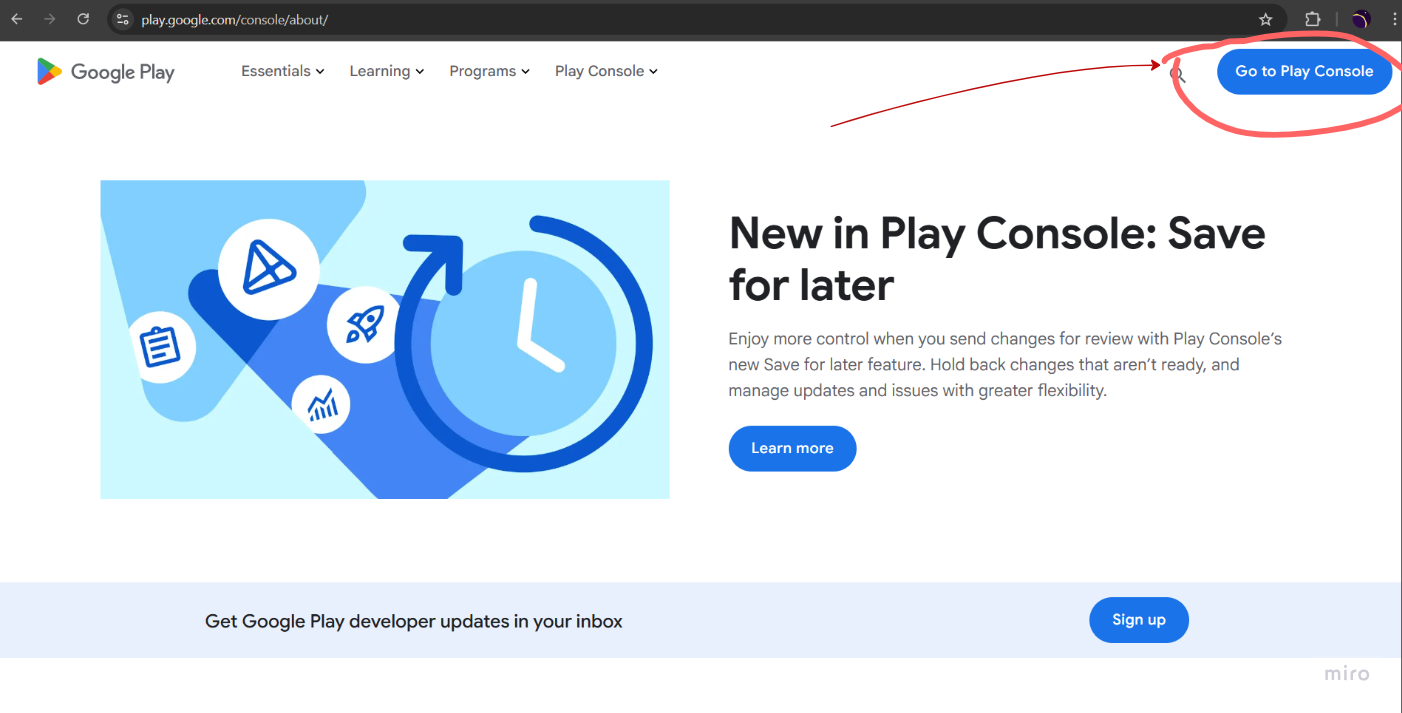
Step 23: Open Google Play Console
Go to play.google.com/console and sign in.
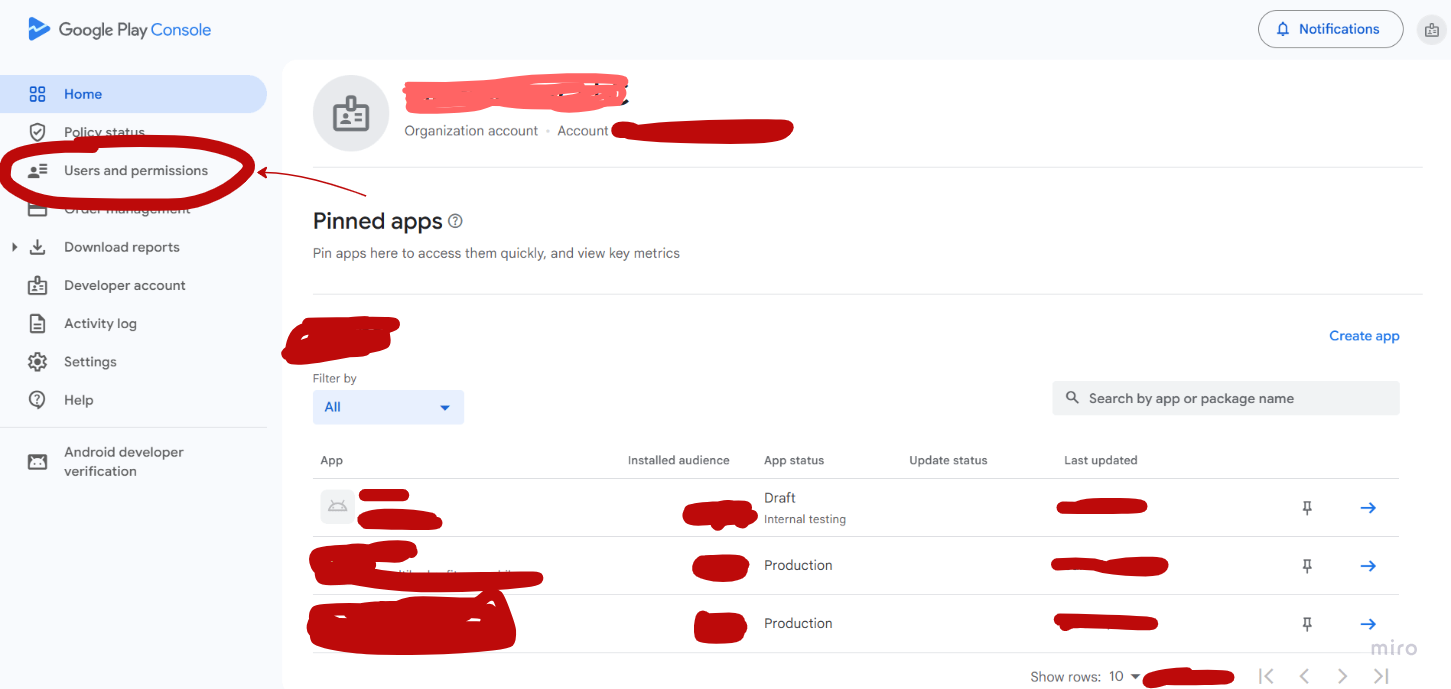
Step 24: Go to Users and Permissions
In the left sidebar, click Users and permissions.
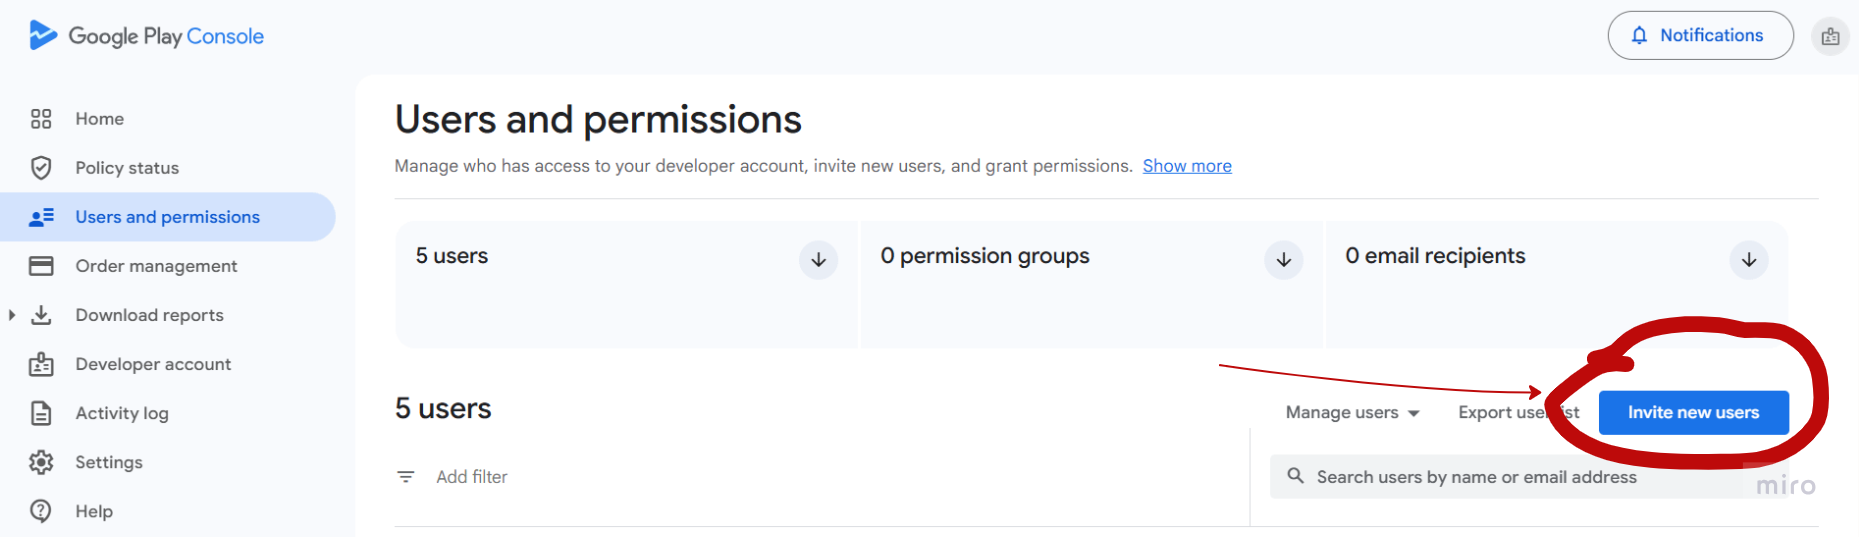
Step 25: Click Invite New Users
Click Invite new users.
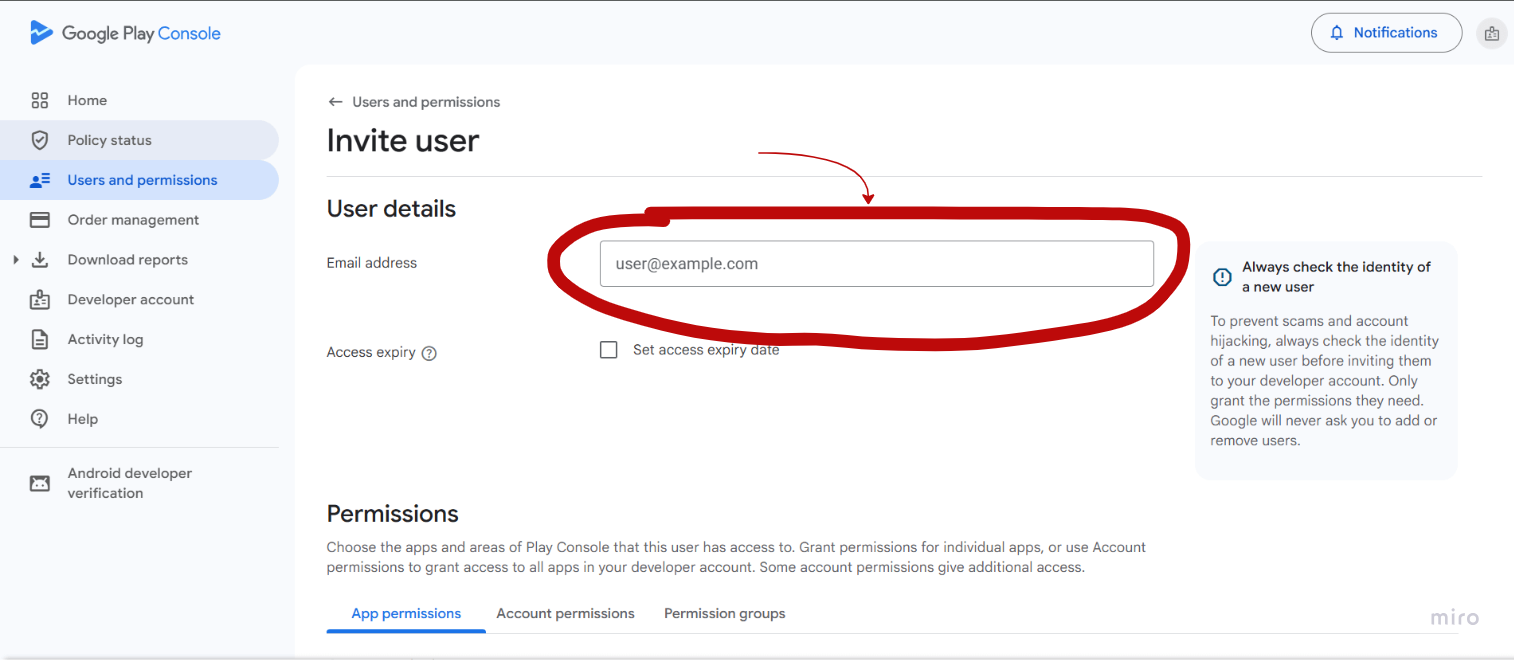
Step 26: Paste Service Account Email
Paste the service account email address you copied in Step 12.
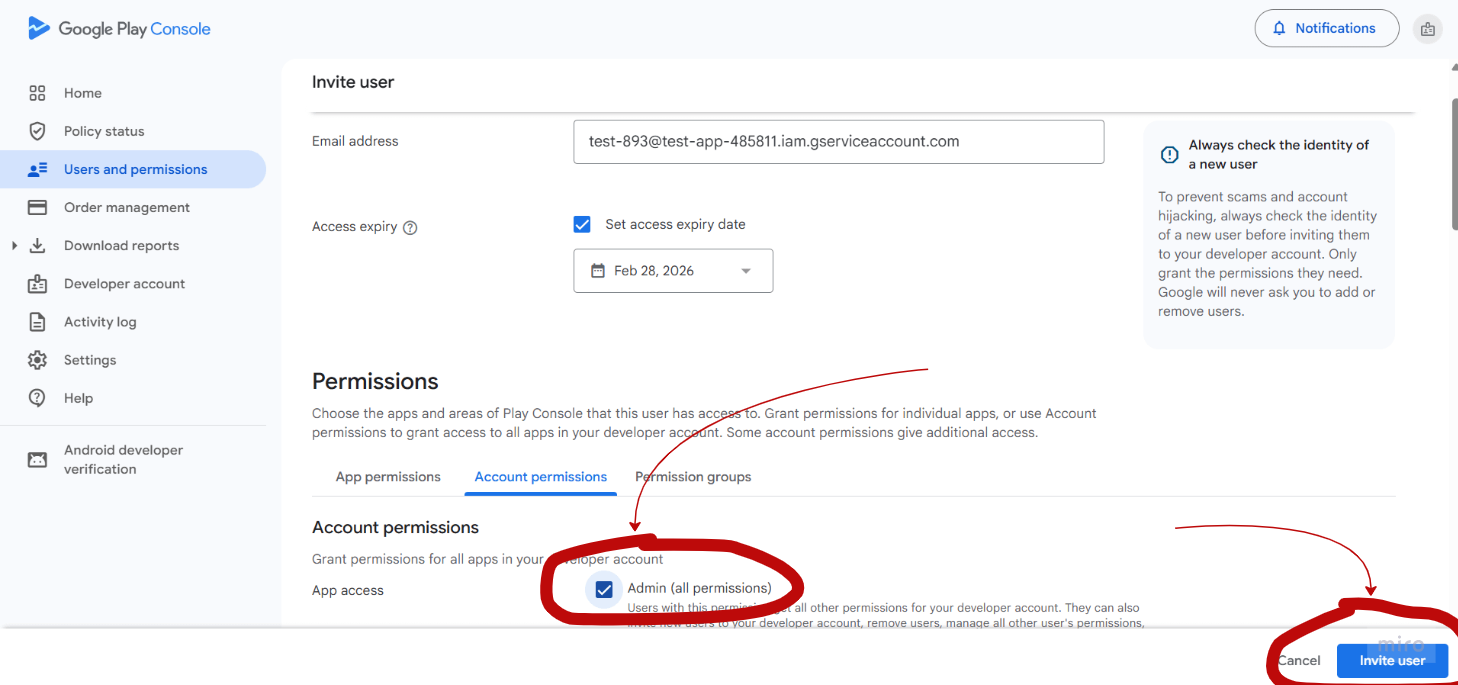
Step 27: Set Permissions
Under Permissions, select the app you want to connect. Grant the following permissions: Admin(all permission)
Click Invite to add the service account.
Limitations
- API Quota: Google Play Developer API has daily quota limits for review replies.
- Review Access: Only reviews from the last 7 days can be replied to via the API.
- Service Account Scope: The service account only has access to apps explicitly granted in Google Play Console permissions.
- Reply Length: Google Play review replies have a maximum length of 350 characters.